Appearance
Project Settings
Use Project Settings to manage project-level administration: edit basic project details, transfer the project to another organization, or permanently delete it.
Edit project details
In Settings → Details you can update:
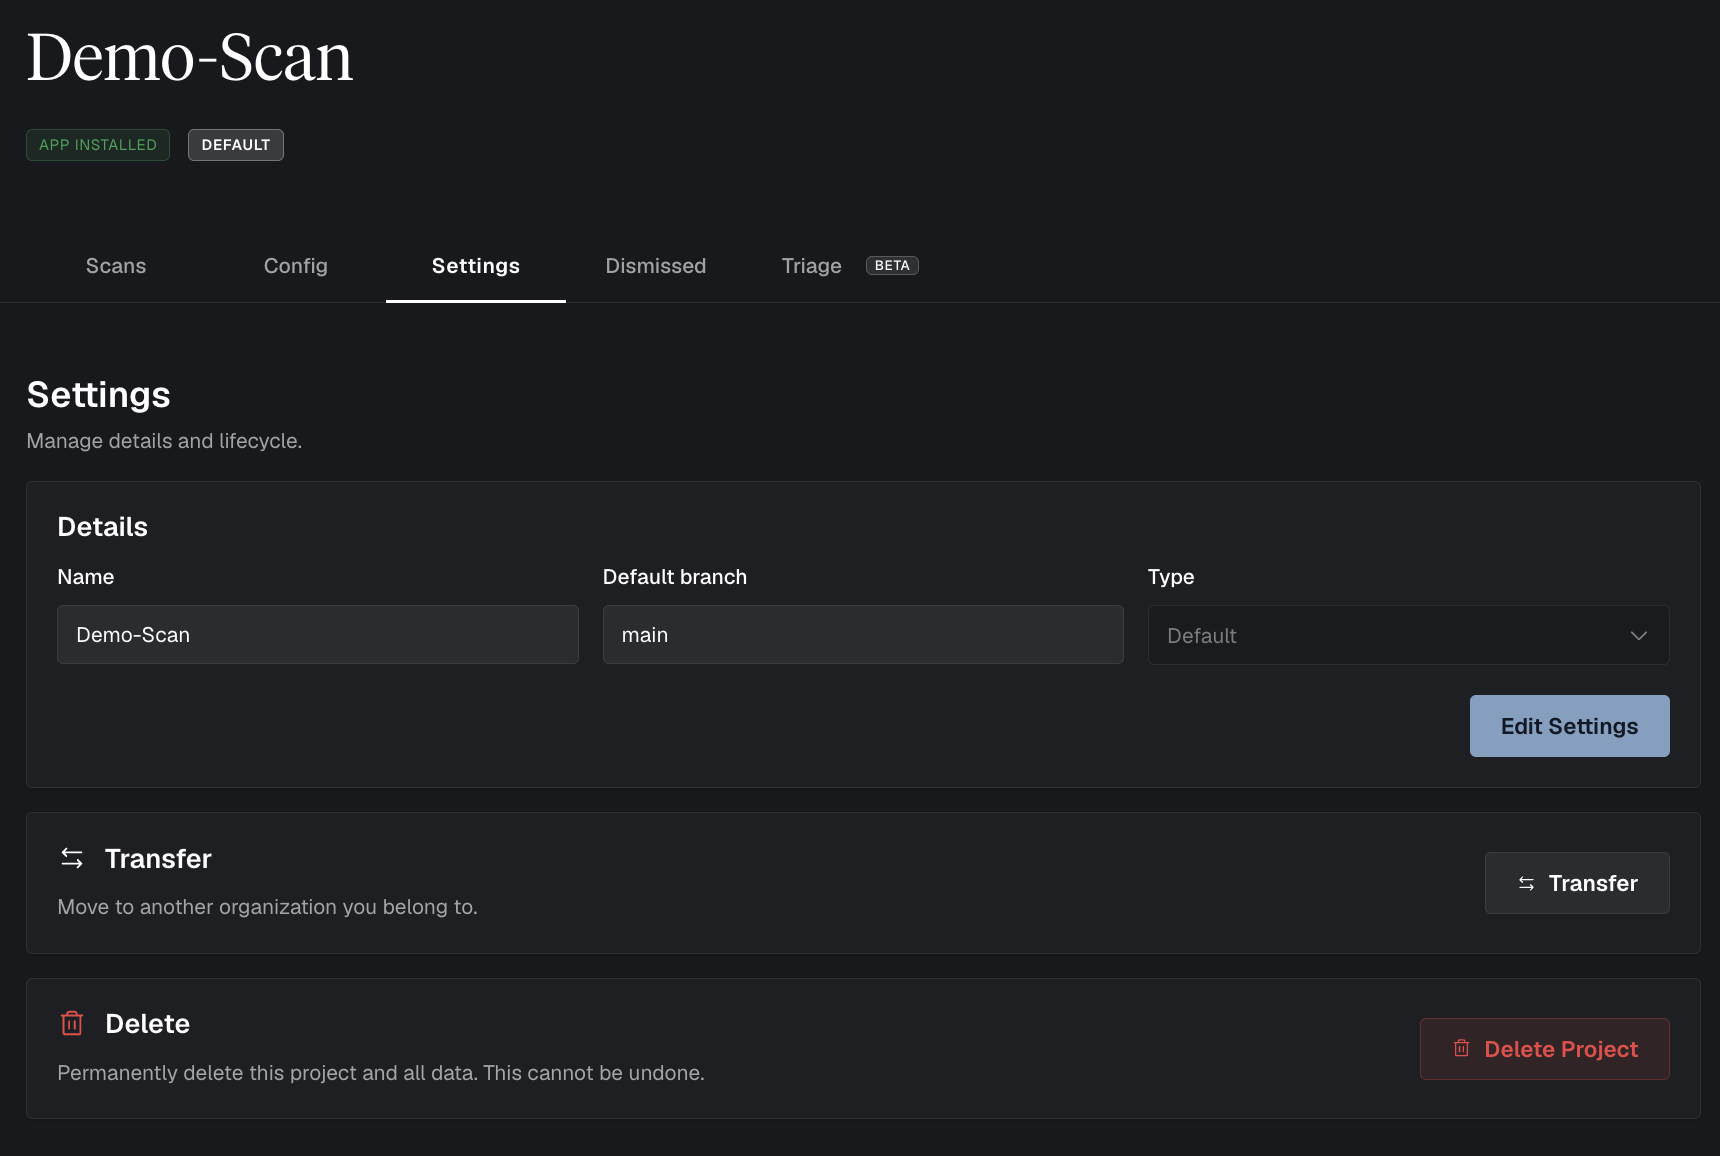
- Name: rename the project
- Default branch: update the branch (e.g.
main) used for scans - Type: change the Specialized agent shown next to the project title (e.g., if you started with Default but want EVM for Solidity-focused scanning).
To edit these fields:
- Click Edit Settings
- Make your changes
- Click Save Changes
Transfer a project to another organization
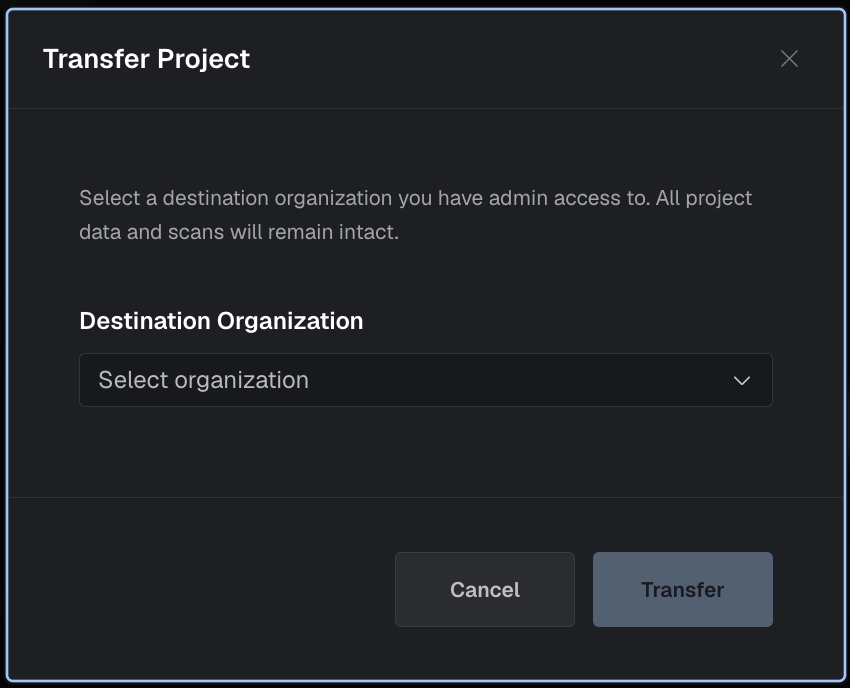
If you belong to multiple organizations, you can move a project to a different organization you belong to.
- Open the project and go to Settings
- Click Transfer Project.
- Select the destination organization.
- Click Transfer.
WARNING
You must have admin access to the destination organization. If the destination org already has a project with the same name, the transfer may fail until you rename one of them.
Scan Configuration
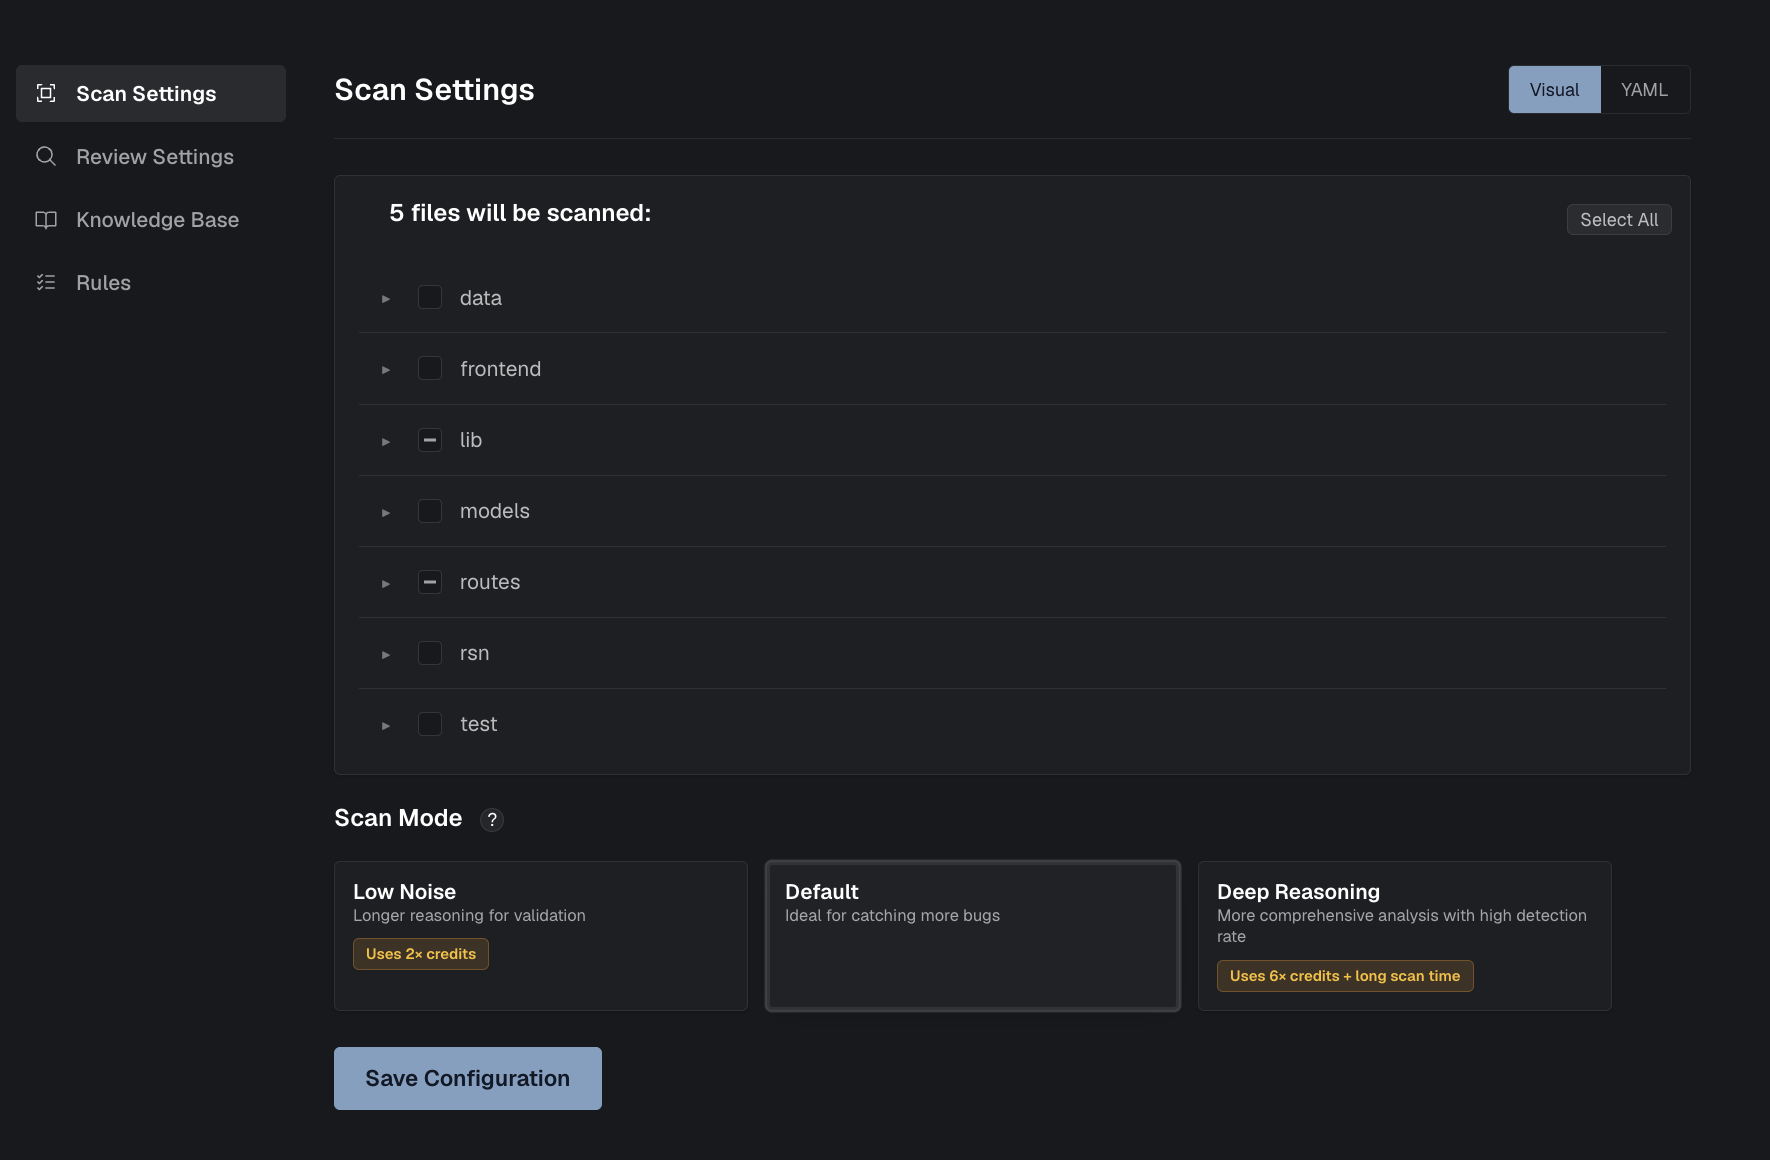
Select or deselect files to be scanned, select docs to be scanned, change scan modes, or change the granularity of the YAML configuration.
Rules
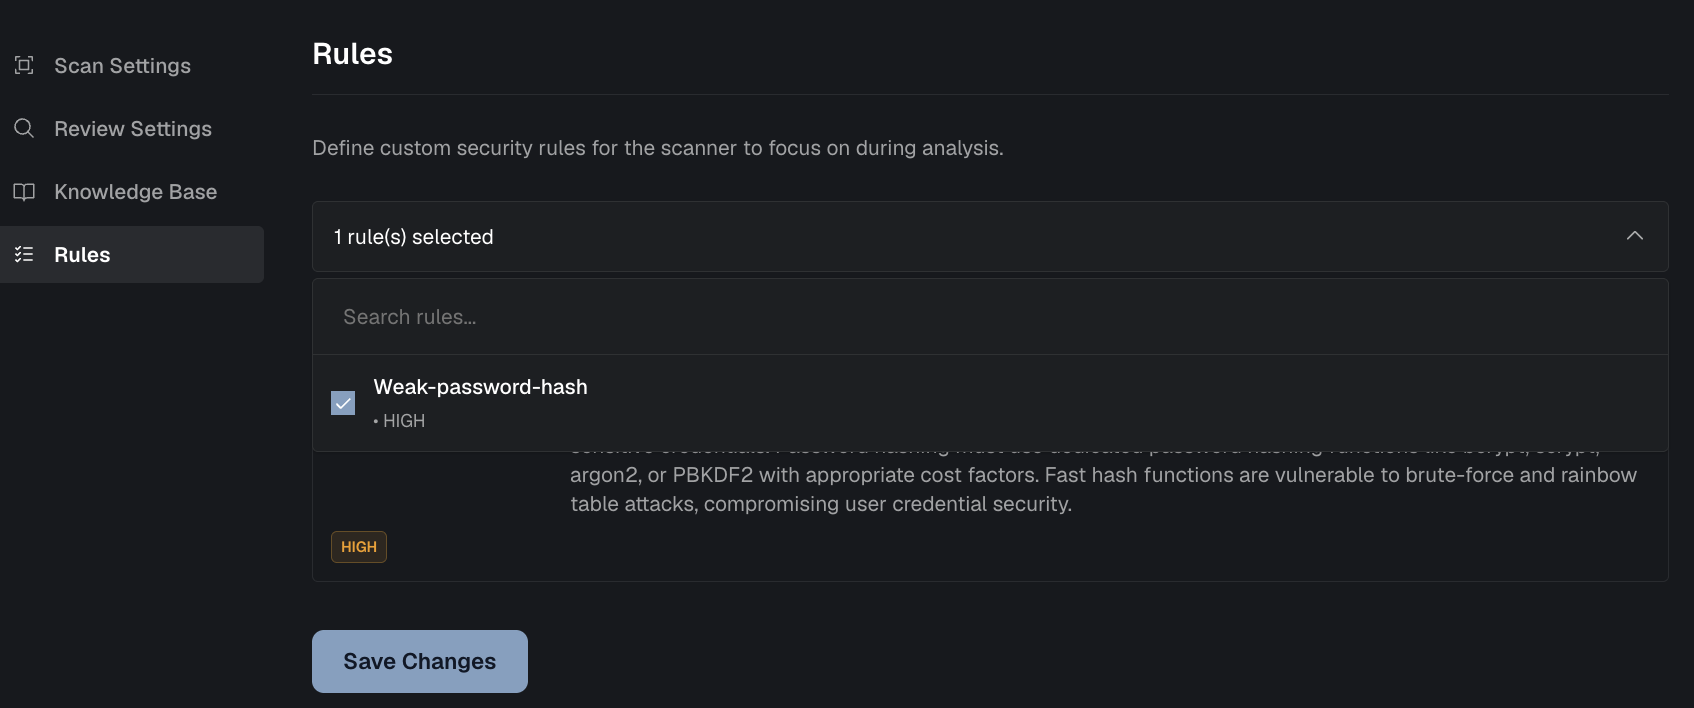
Rules uploaded here run on every scan unless toggled off or deleted.
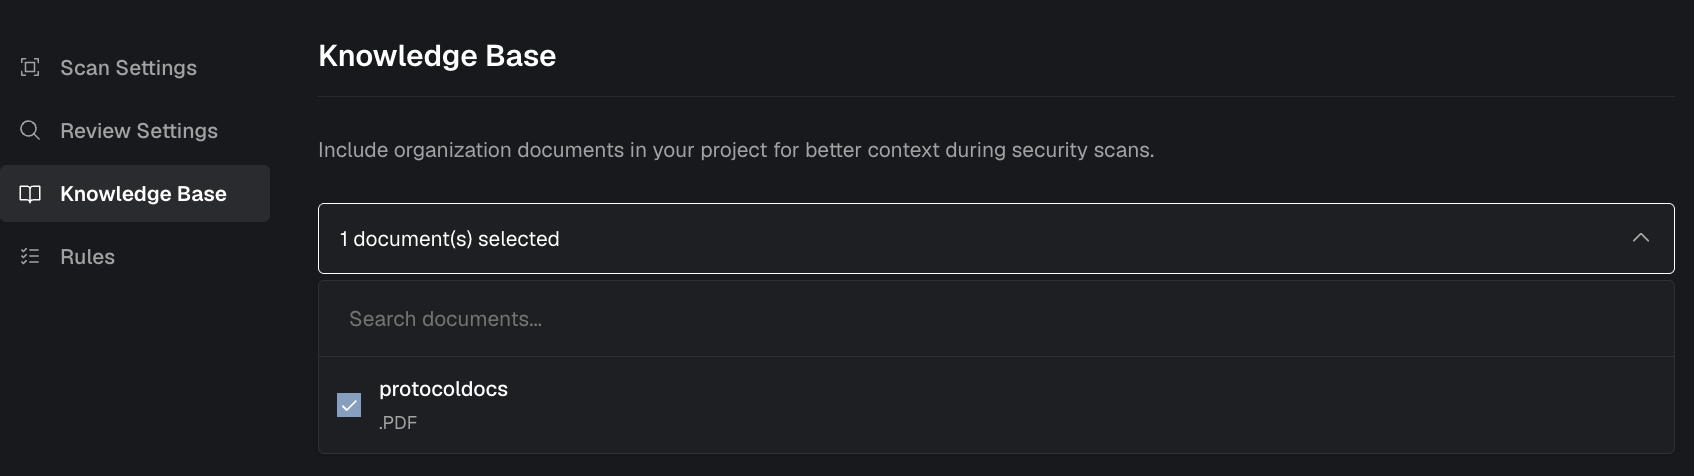
Knowledge Base
Attach architecture docs, audit reports, or threat models that the reasoning engine can reference during scanning.
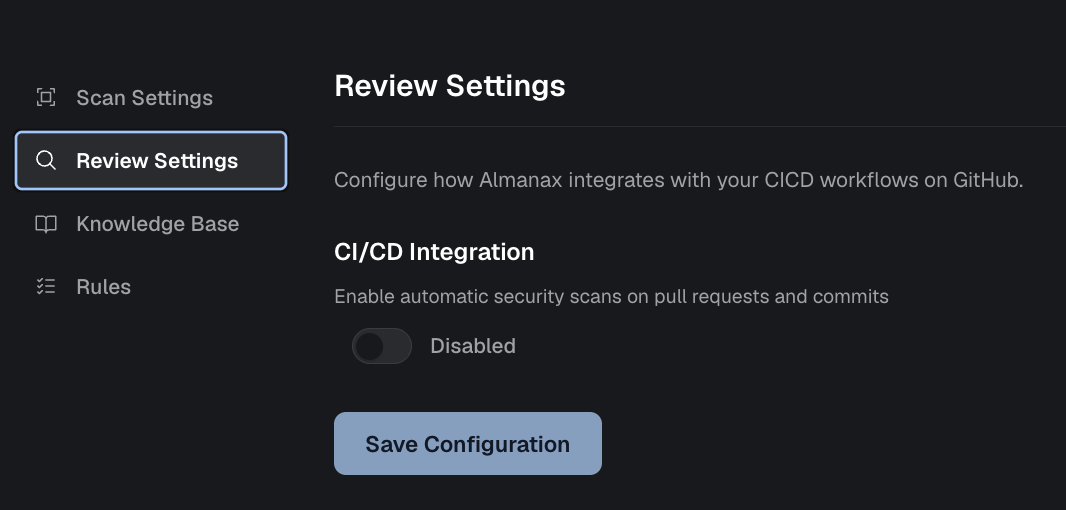
Integrate CI/CD
Set up automatic scans on every pull-request or commit via GitHub Actions.
Delete a project
Deleting a project permanently removes it and all associated scans.
- Click Delete Project (confirmation modal appears).
- Type the exact project name to confirm.
- Click Delete.
WARNING
Deletion is permanent and cannot be undone.
See also
- Scan Configuration — configure what’s scanned, scan mode, and YAML scan settings.
- Rules — add or manage rules that apply to scans.
- Knowledge Base — attach docs the reasoning engine can reference.
- CI/CD Integration — automate scans in GitHub Actions.