Appearance
Managing Findings with Dismissals
If a finding isn’t relevant you can remove it from active views by dismissing it. Click Dismiss on the finding card, choose a reason and optionally leave a note. Dismissed findings vanish from default views but remain accessible via the status filter and can be restored at any time.
- In the
Findingstab, in the bottom right, click on theDismissdropdown arrow. - Select one of the following dismissal options:
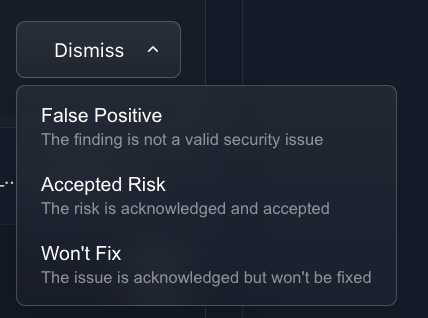
Dismissal Types
False Positive
- Use when the finding is incorrect or doesn't apply to your code.
- Helps reduce noise in future scans.
Accepted Risk
- Use when the risk is understood and consciously accepted (e.g. business decision, external mitigation, or low-impact edge case).
- The finding will remain documented but will not block your workflow.
Won't Fix
- Use when the finding is valid but you explicitly decide not to address it (e.g. legacy code that will be refactored later, out-of-scope component, or no security impact).
TIP
After dismissing findings, consider running a rescan to improve performance. The AI model will learn from your dismissals and provide more focused results. See Rescanning files for more details.
Dismissal Effects
When you dismiss a finding, it will:
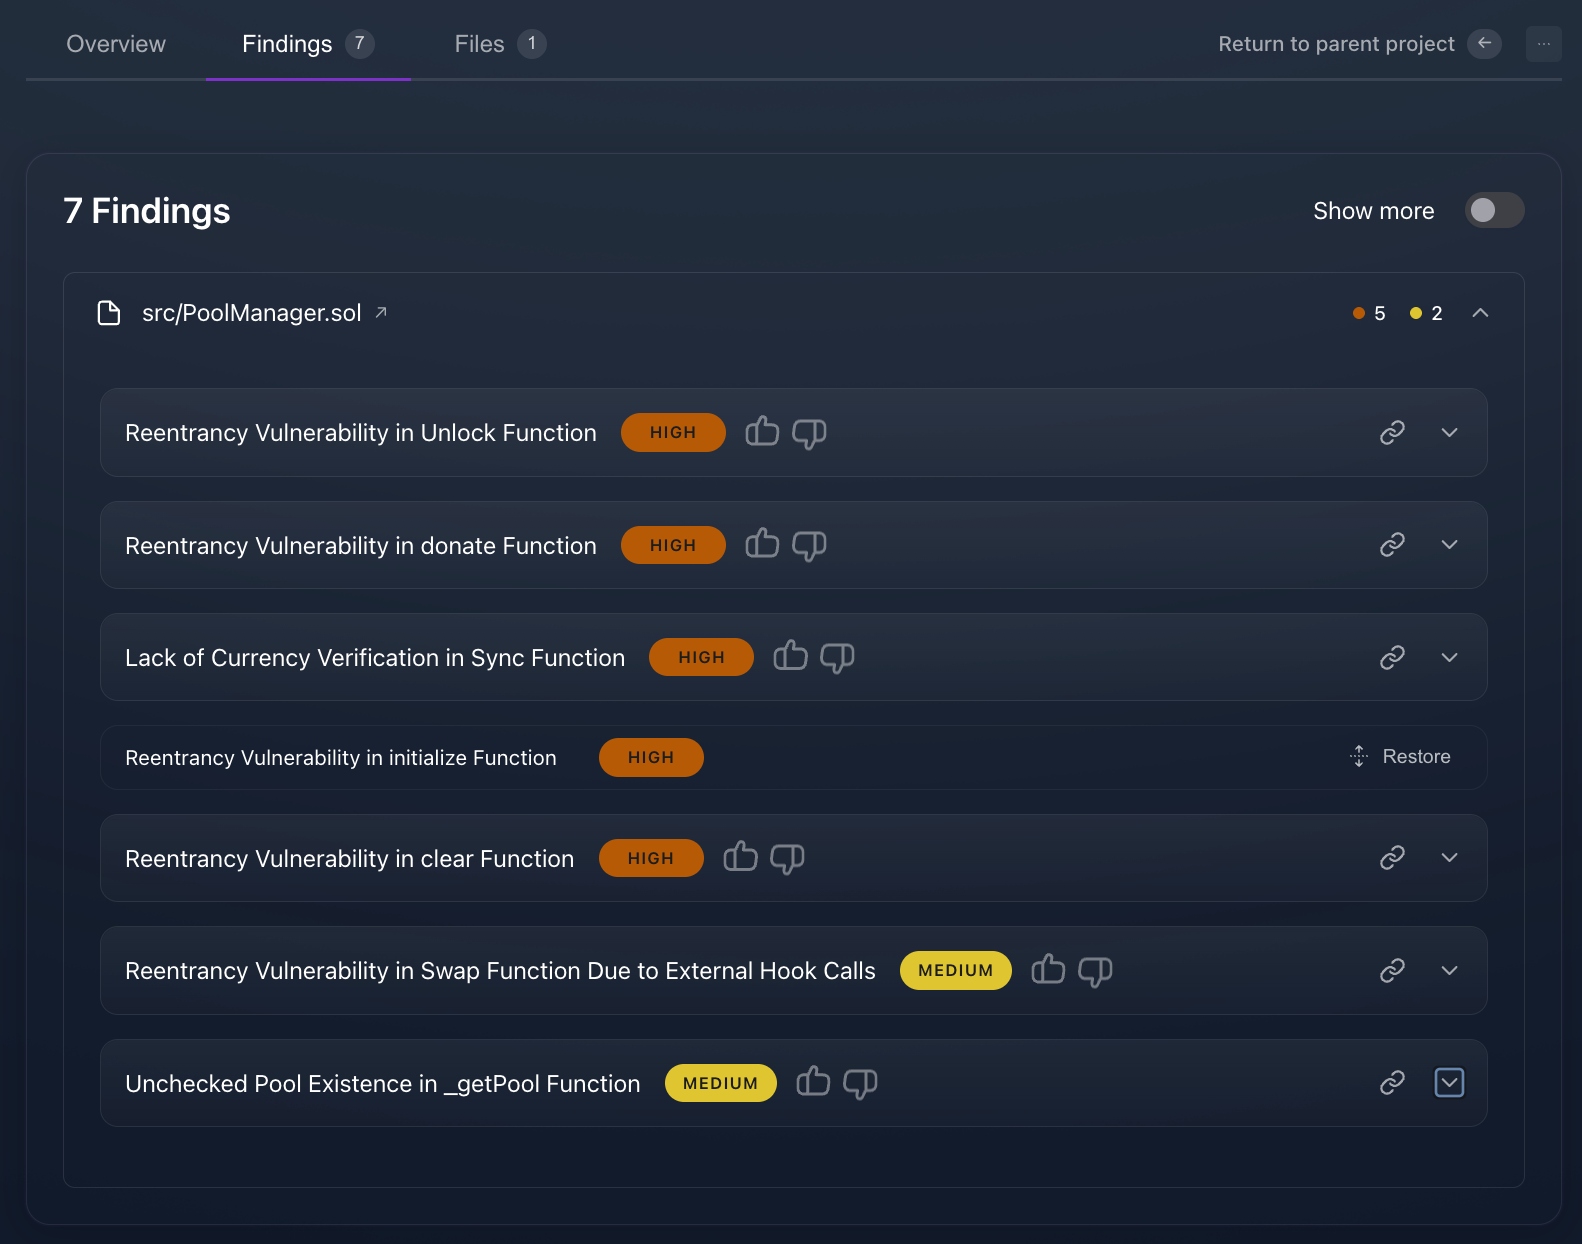
Be collapsed on the Findings Page (with the ability to be restored):
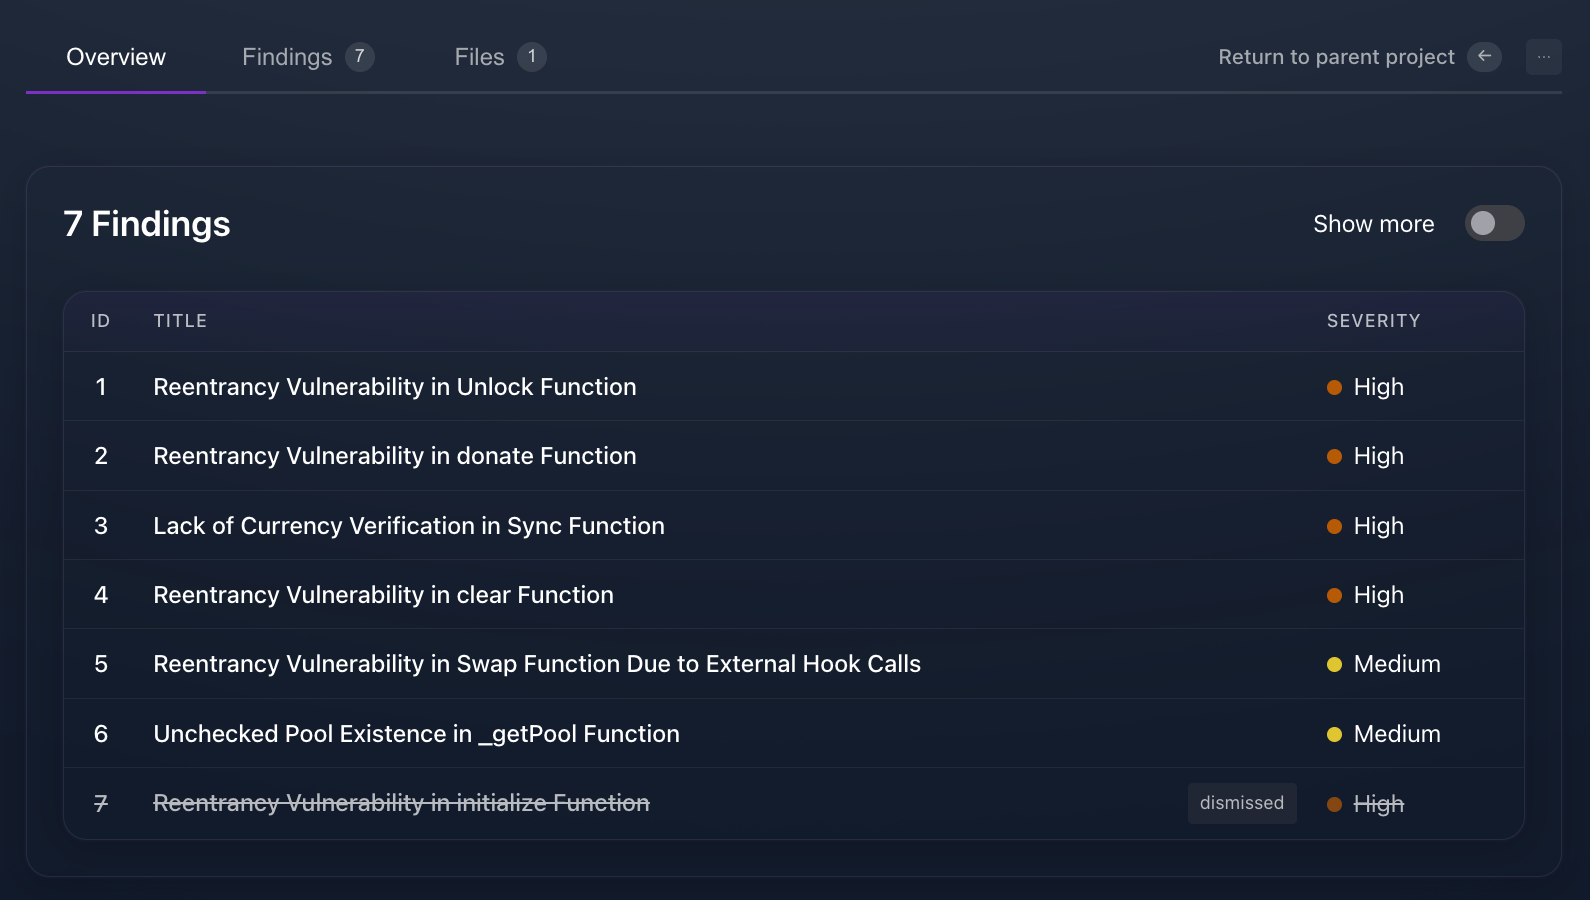
Be striken on the Overview Page:
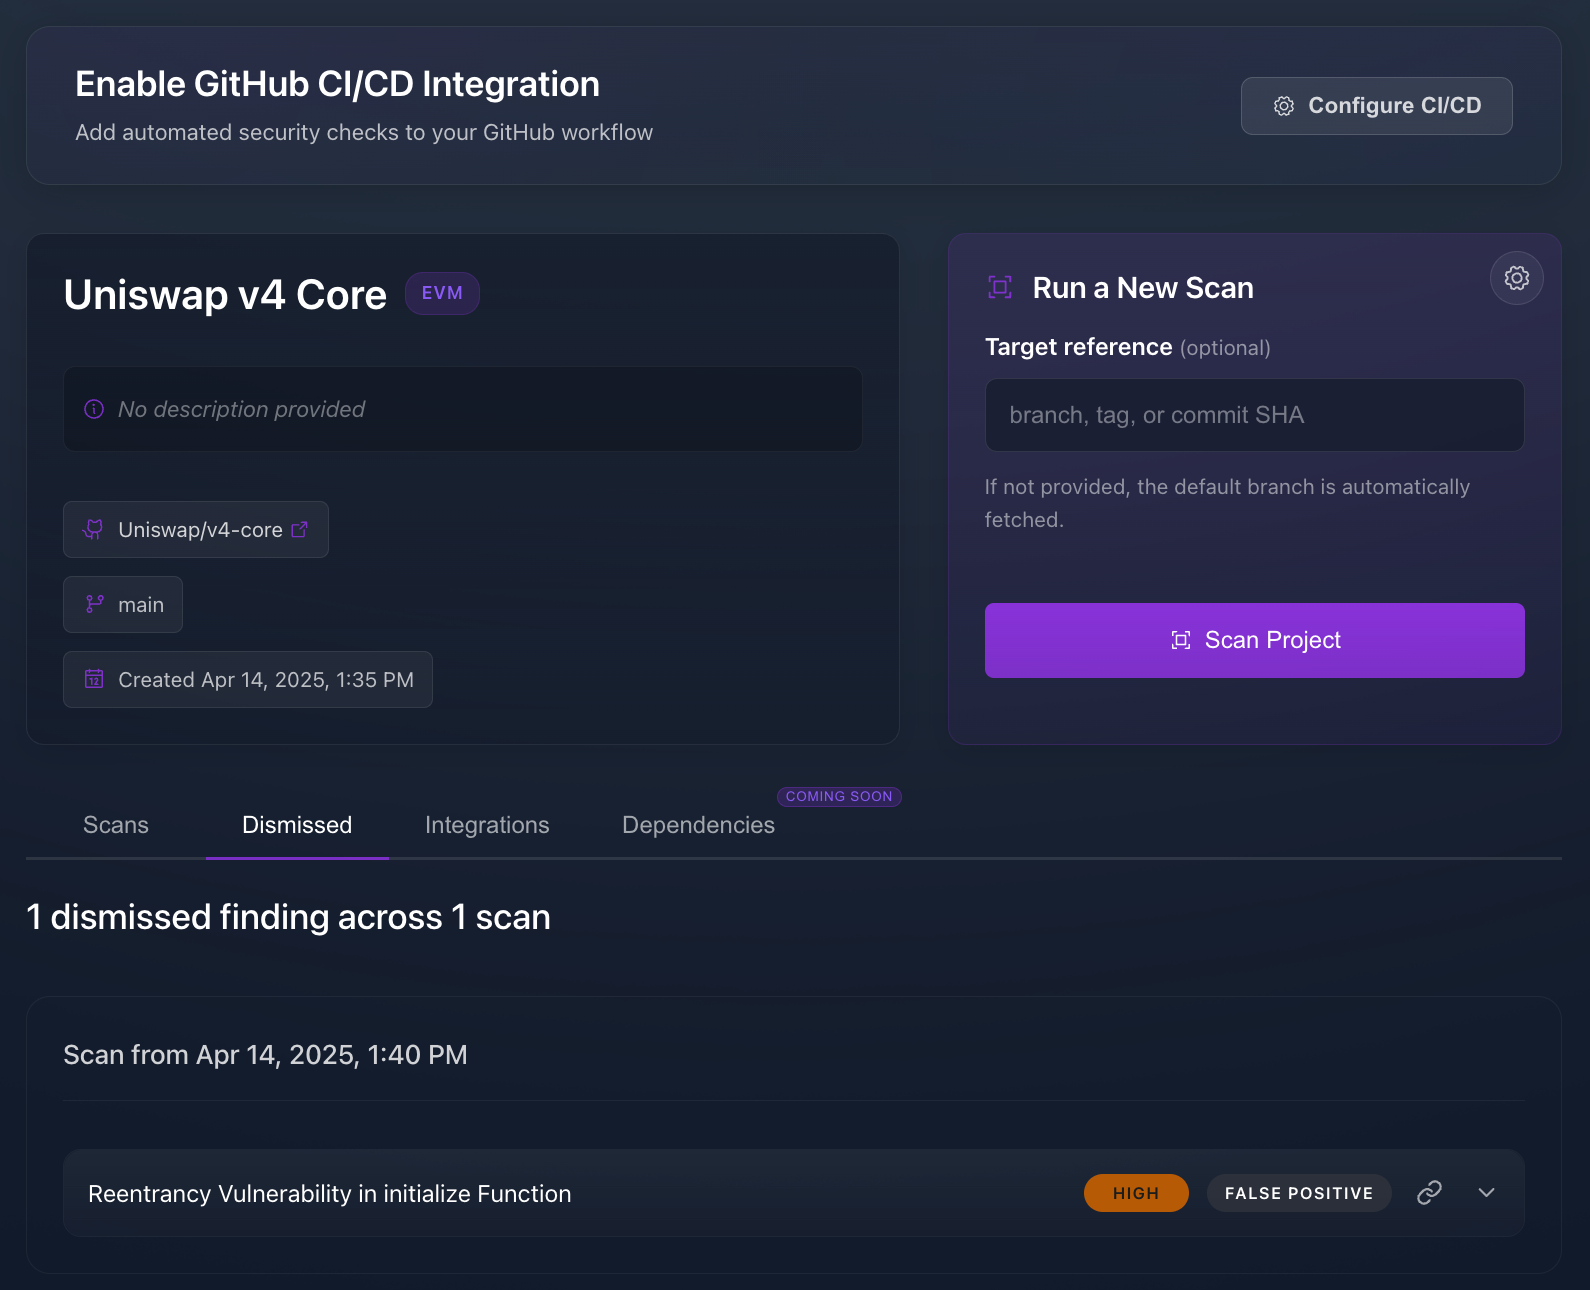
Display the dismissal reason on the project home page:
Restoring Findings
You can restore a dismissed finding to its original status by clicking the restore button on the far right.
